How to start Development on Unity Step by Step?
Manish Kumawat
Last Updated on: 01 April 2026
While traditional programming can be versatile, it may not be the most efficient choice for game development. Game engines, such as Unity, offer a streamlined approach to creating games.
Unity, the world's leading game engine, is a practical choice for your business. It can offer many benefits. What can Unity bring to your game development project?
What is Unity Game Development?
Unity game development is a powerful tool for creating immersive, interactive experiences for users. It is a comprehensive game engine that allows developers to create stunning 3D and 2D games for a variety of platforms, from mobile to console. Unity is a popular choice for game developers due to its user-friendly interface, powerful features, and wide range of supported platforms.
Unity game development offers developers a wide range of features, including a graphical user interface, physics engine, animation system, and real-time lighting. This comprehensive suite of tools allows developers to create games quickly and efficiently. Unity also provides a range of additional features, including a scripting language, audio and video support, and built-in tools for game optimization.
Unity game development is an incredibly powerful and versatile tool for creating interactive and immersive experiences.
How to start Development on Unity
To start game development on Unity, you can follow these steps:

Download and install Unity Hub:
To begin game development on Unity, the first step is to download and install Unity Hub. Unity Hub is a central hub for managing all aspects of your Unity experience. It allows you to easily install and manage different versions of Unity, as well as different components and add-ons. Once Unity Hub is installed, you can begin creating and developing your game.
Steps to download:
- Step 1:Download Unity Hub from the Unity website.
- Step 2:Once the download is complete, open the installer and follow the prompts to install Unity Hub on your computer.
- Step 3:After installation, launch Unity Hub and sign in with your Unity account or create a new one.
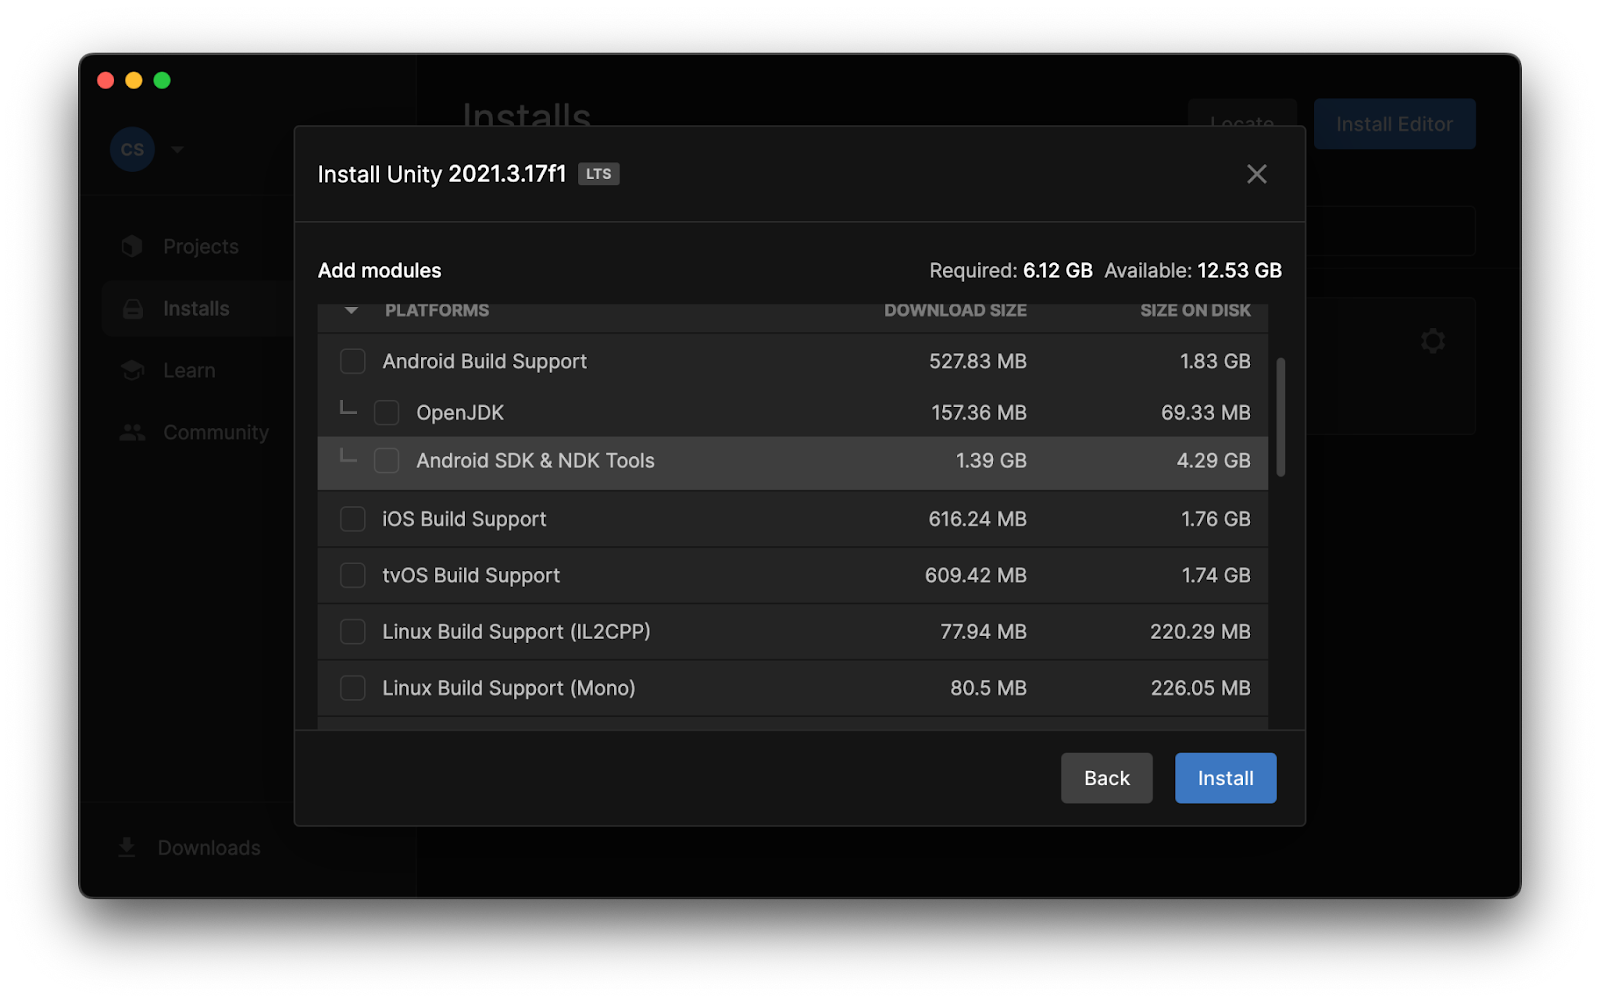
- Step 4:On the Unity Hub dashboard, click on the "Installs" tab to view and manage different versions of Unity.
- Step 5:Select the version of Unity you want to use for your project and click "Install" to download and install it.
- Step 6:Once the installation is complete, you can start creating your game using the Unity editor.
- Step 7:If you need additional components or add-ons, you can easily access and install them through the Unity Hub.
Create a Unity project:
It is highly commendable that you have chosen to embark on game development using Unity. To begin, create a Unity project. This will provide a platform for you to begin building your game and will ensure that you have all the necessary resources to do so.
Steps to create a unity project:
Step 1:
Open Unity Hub and sign in with your Unity account.Step 2:
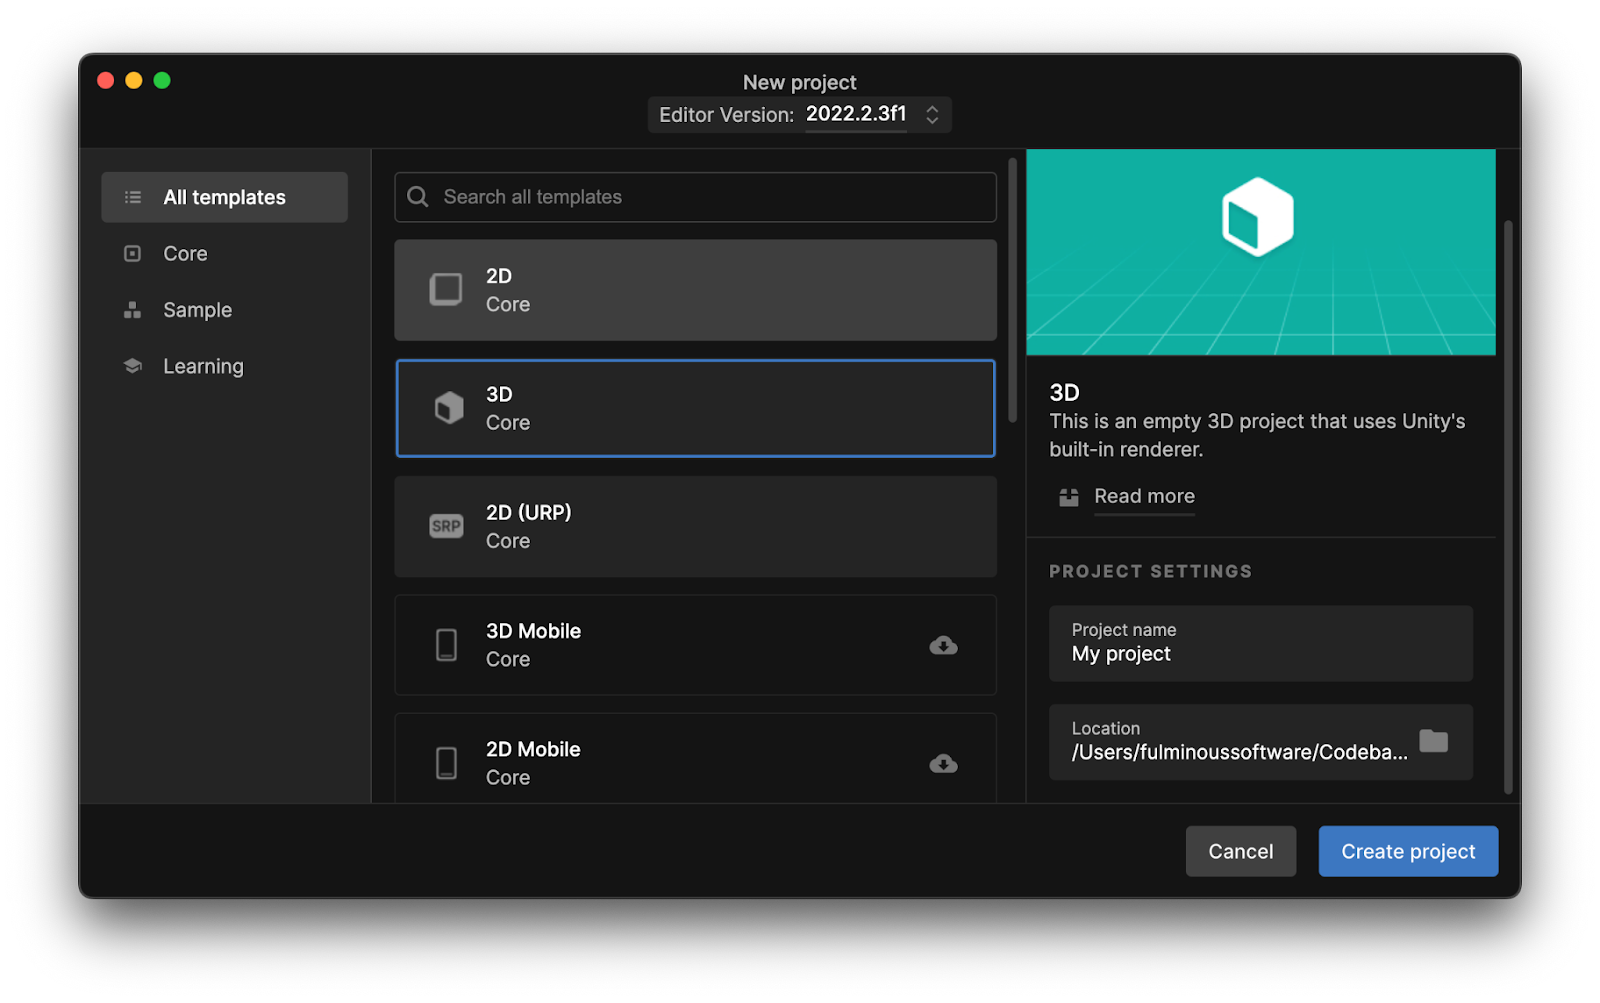
Click on the "Projects" tab in Unity Hub.Step 3:
Click on the "New" button to create a new project.Step 4:
Enter a name for your project and choose a location on your computer to save it.Step 5:
Select the version of Unity you want to use for your project and choose a template or create a project with no template.Step 6:
Click on the "Create" button to create the project.Step 7:
Unity will now open the project in the Unity editor, where you can begin building your game.Step 8:
You can access the resources and assets you need to build your game through the Unity editor, including 3D models, textures, and scripts.Step 9:
You can also import additional assets, such as sound effects and music, into your Unity project.
*Note: The template you choose will be the starting point for your game and will have different assets, scenes, and scripts. So, choose carefully the template that fits more with the game you want to create.
Download and install any additional software or assets needed:
It is highly recommended to download and install any additional software or assets needed in order to begin game development on Unity. Doing so will ensure that the process runs smoothly and efficiently, allowing for the best possible outcome. I wholeheartedly endorse this approach, as it will provide a solid foundation for successful game development.

Steps to install any additional software:
Step 1:
Research the specific software or assets that are needed for your game development project.Step 2:
Download the necessary software or assets from reputable sources.Step 3:
Once the downloads are complete, install the software or assets on your computer.Step 4:
Make sure to read the instructions and follow any prompts during the installation process.Step 5:
After installation, launch the software or assets and ensure that they are working properly.Step 6:
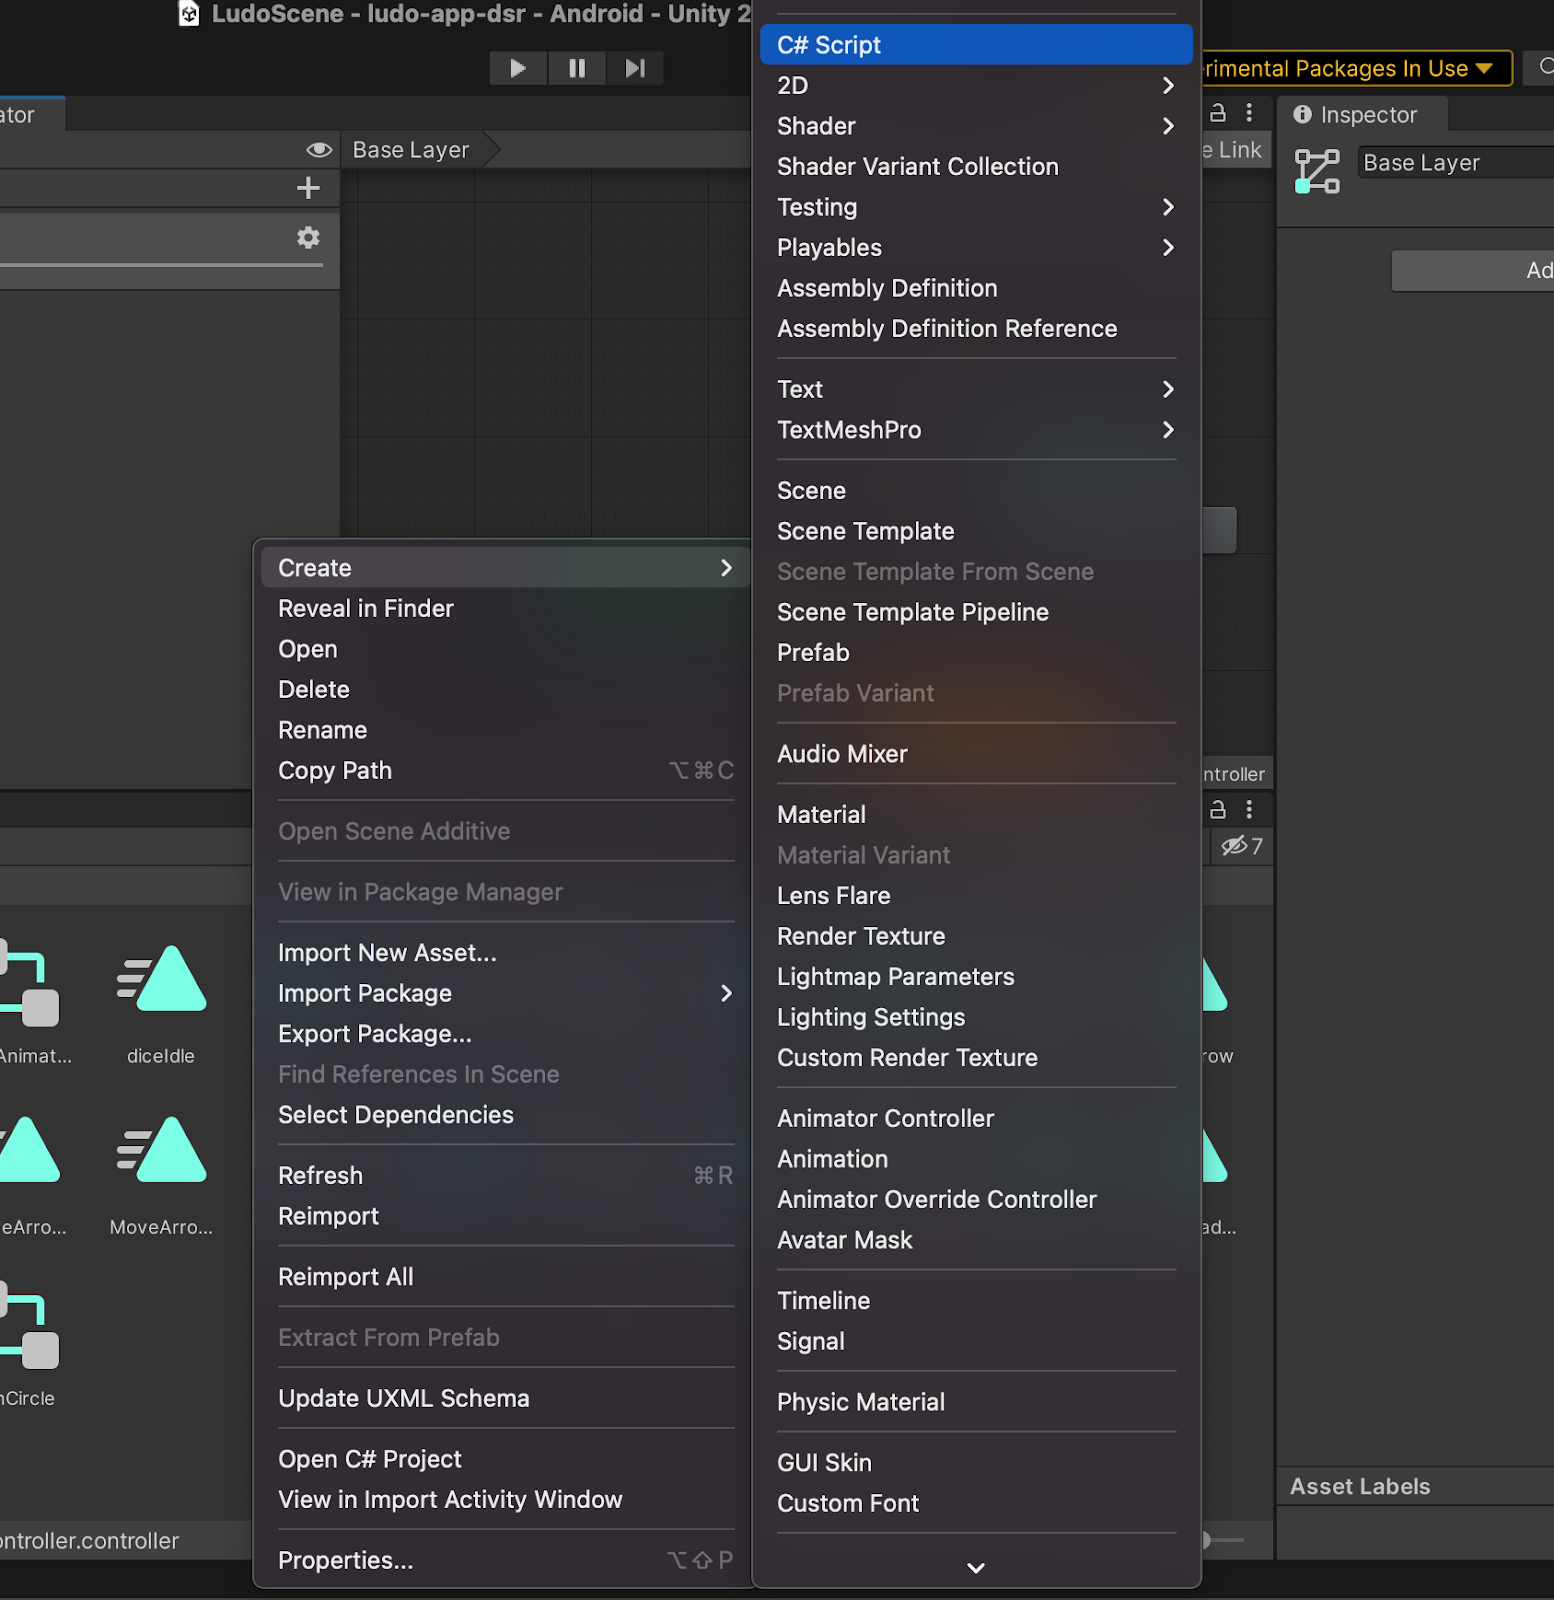
Import the assets into your Unity project by going to the "Assets" menu, then "Import Package" or "Import new Asset"Step 7:
Test the imported assets to make sure they are working correctly within your Unity projectStep 8:
Repeat steps 1-7 as needed for any additional software or assets that are required for your project.
*Note: It's important to make sure that the software or assets you are downloading are compatible with the version of Unity you are using and your computer system. Also, ensure that the software or assets are legally acquired, some of them may require a license to use them.
Familiarize yourself with the Unity Editor:
It is essential to become familiar with the Unity Editor in order to begin game development on Unity. I highly encourage taking the time to learn and become comfortable with the Unity Editor in order to ensure success in game development. Doing so will help to maximize the potential of Unity and its capabilities.

Steps:
- Step 1:Open your Unity project in the Unity Editor.
- Step 2:Take a tour of the Unity Editor interface and familiarize yourself with the different panels, such as the Scene View, Hierarchy, and Inspector.
- Step 3:Learn how to navigate and manipulate objects in the Scene View, including moving, rotating, and scaling.
- Step 4:Learn how to use the Hierarchy panel to organize and manage the objects in your scene.
- Step 5:Learn how to use the Inspector panel to modify the properties of objects in your scene.
- Step 6:Learn how to use the Assets panel to access and manage the assets in your project, such as 3D models, textures, and scripts.
- Step 7:Learn how to use the Game panel to test and play your game in the Unity Editor.
- Step 8:Learn how to use the Console panel to view any errors or messages that may occur while working on your game.
- Step 9:Take some tutorials or watch some videos, to get a better understanding of how Unity editor works, and how to use its tools and features.
- Step 10:Experiment with different features and tools in the Unity Editor, and practice creating simple scenes and objects to gain confidence and experience with the software.
*Note: Unity's editor is very powerful, and it has a lot of features and tools, so it will take some time to master it, but it's worth it. The more familiar you are with Unity Editor, the more efficient and effective you will be in game development.
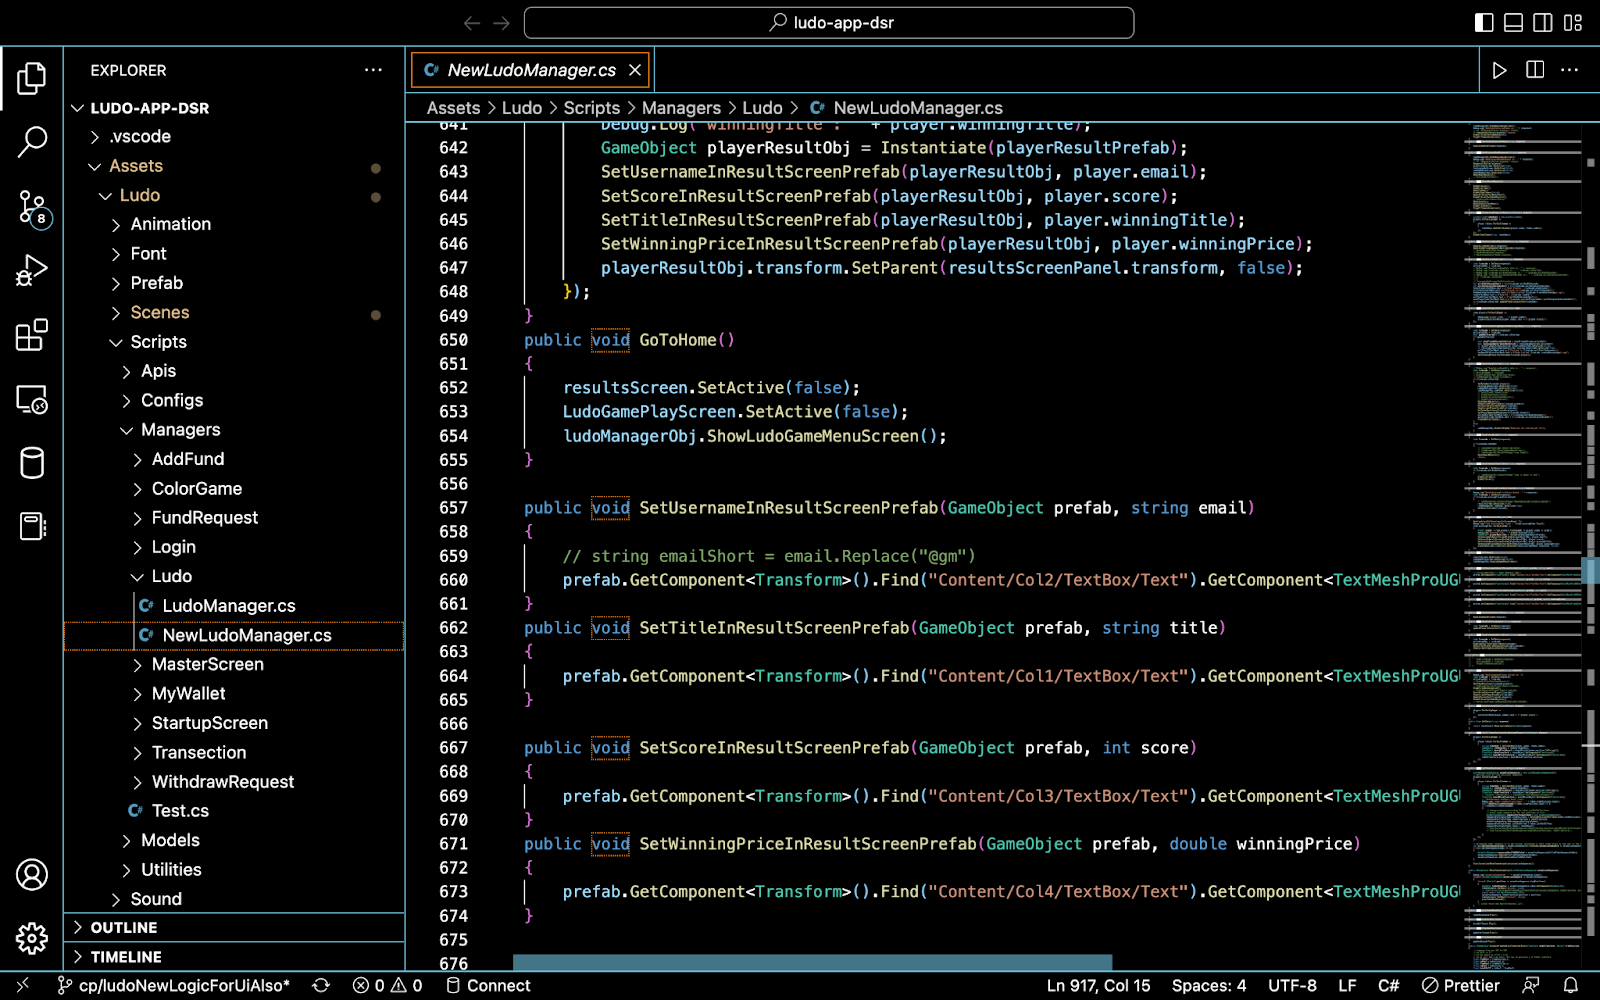
Learn the basics of coding in C# or JavaScript:
It is highly recommended to begin game development on Unity by first learning the fundamentals of coding in either C# or JavaScript. This is an essential step in the process of creating a successful game, and I encourage anyone interested in game development to invest time and effort into learning these programming languages. Doing so will provide a solid foundation for creating engaging and immersive gaming experiences.
Some following steps:
- Step 1:Choose either C# or JavaScript as the programming language to learn.
- Step 2:Research and find resources to learn the basics of the chosen programming language. Some options include online tutorials, coding boot camps, or college courses.
- Step 3:Begin with the basics of the programming language, such as data types, variables, loops, and functions.
- Step 4:Learn the basic syntax and structure of the language.
- Step 5:Practice writing code and solving simple problems to gain experience and confidence.
- Step 6:Learn about object-oriented programming concepts, such as classes, objects, and inheritance.
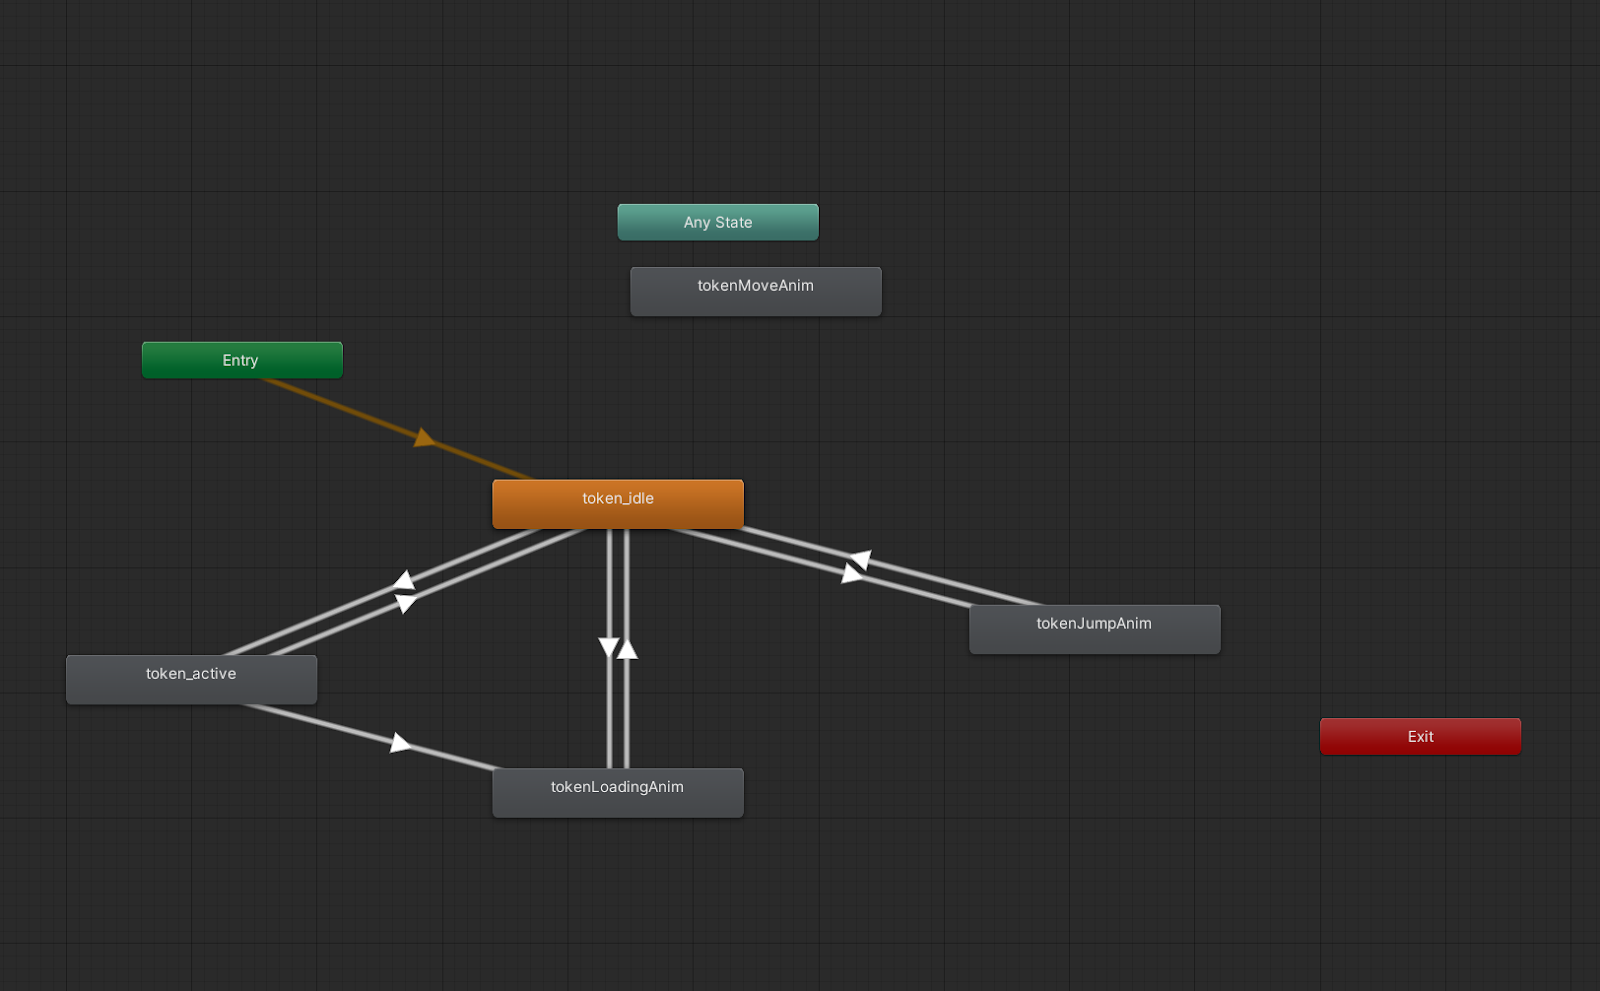
- Step 7:Learn about Unity-specific programming concepts such as MonoBehaviour, and how to create scripts to control game objects and build game logic.
- Step 8:Practice creating simple scripts in Unity to control game objects and implement basic game mechanics.
- Step 9:Continue to learn and practice advanced concepts, such as creating custom classes and using Unity's API.
- Step 10:Seek help and feedback on your code, and to continue learning new concepts and techniques.
*Note: Unity supports both C# and JavaScript as scripting languages, but C# is the more common one among Unity developers, it's also more powerful and versatile. However, JavaScript can be a good choice if you already have experience with it or if you want to learn it, it will work just as fine.
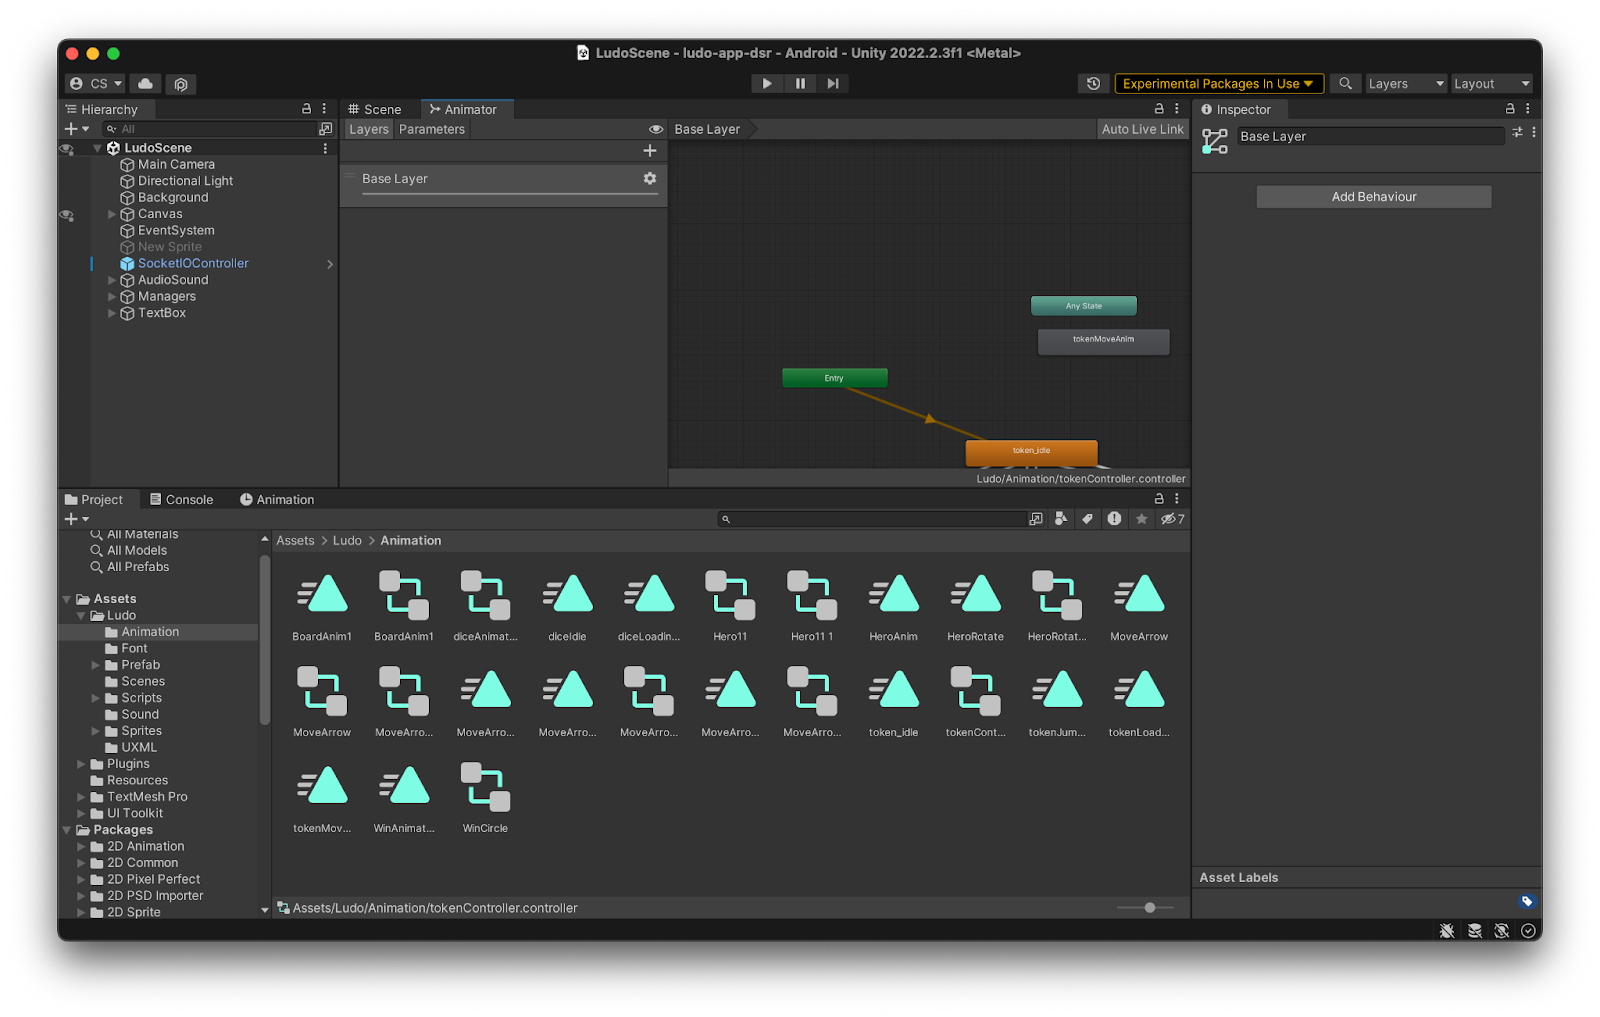
Get familiar with the Unity interface and tools:
It is highly recommended to become familiar with the Unity interface and tools before beginning game development on Unity. Doing so will ensure that you have the necessary knowledge to create a successful game. I strongly approve of this approach and believe it is essential for successful game development
Steps to get familiar:
- Step 1:Open Unity and take a tour of the interface, familiarizing yourself with the different panels and menus.
- Step 2:Learn how to navigate the Unity interface, including how to move, rotate and scale objects in the Scene view.
- Step 3:Learn how to use the Hierarchy panel to organize and manage objects in your scene.
- Step 4:Learn how to use the Inspector panel to modify the properties of objects in your scene.
- Step 5:Learn how to use the Assets panel to access and manage assets in your projects such as 3D models, textures, and scripts.
- Step 6:Learn how to use the Game panel to test and play your game in the Unity Editor.
- Step 7:Learn how to use the Console panel to view any errors or messages that may occur while working on your game.
- Step 8:Learn how to use Unity's built-in physics engine to create realistic movement and interactions in your game.
- Step 9:Learn how to use Unity's built-in lighting system to create dynamic and engaging lighting in your game.
- Step 10:Learn how to use Unity's animation system to create realistic and believable character animations.
*Note: Unity's interface and tools are designed to be user-friendly, but it takes some time to get familiar with all of them. The more familiar you are with Unity's interface and tools, the more efficient and effective you will be in game development. Take some time to experiment with different features and tools and practice creating simple scenes and objects to gain confidence and experience with the software.
Create a game design document:
It is highly recommended to begin game development on Unity by creating a game design document. This document will serve as a blueprint for the entire game development process and provide a clear roadmap for the project. This document should include the game's concept, story, characters, features, and objectives. Having a well-structured game design document will ensure that the game development process runs smoothly and efficiently. It is an essential step in the game development process and should not be overlooked.
Creating a game design document for a Unity game development project involves the following steps:
Concept Development:
The first step in creating a game design document is to come up with a concept for the game. This includes the overall idea or theme of the game, as well as the gameplay mechanics and features that will be included. It's important to consider the target audience and the goals for the game when developing the concept.- Story Development:Once the concept has been established, the next step is to develop the story and characters for the game. This includes creating a plot, characters, and setting for the game. It's important to have a clear and engaging story that players will want to experience.
- Gameplay Mechanics:The gameplay mechanics are the core systems and mechanics that make up the game. This includes things such as the player's abilities, enemies, and objectives. It's important to consider how these mechanics will work together to create an enjoyable and engaging gameplay experience.
- Level Design:The level design process involves creating the layout, structure, and objectives of the levels in the game. This includes both the overall structure and specific details of each level. It's important to consider how the levels will flow together and how they will challenge the player.
- Art and Sound Design:The art and sound design process involves creating the visual and audio elements of the game. This includes character models, environments, and sound effects. It's important to consider the style and tone of the game when developing the art and sound design.
- User Interface:The user interface process involves designing the menu and interface elements that the player will interact with throughout the game. It's important to consider the usability and accessibility of the interface when developing it.
- Unity-specific considerations:When creating a game design document for Unity, it's important to consider the specifics of the Unity engine and how it will be used to create the game. This includes things such as input methods, physics, and scripting.
- Testing and Iteration:Once the game design document is complete, it is important to test the game and make any necessary adjustments. This may involve playtesting, bug fixing, and making changes to the game based on player feedback. It's important to consider the feedback and iterate on the design to create the best experience possible.
- Finalization:Once the game has been tested and iterated on, the final game design document is created. This document will be used as a blueprint for the development and production of the game in Unity. It's important to have a clear and comprehensive document that covers all aspects of the game development process in Unity.
*Note: The process of creating a game design document can vary depending on the size and scope of the project, and can be adapted accordingly. Also, The Game Design Document is a living document and is subject to change as the development process goes on.
Start prototyping game mechanics:
It is highly recommended to begin game development on Unity by first prototyping game mechanics. Doing so will provide a solid foundation for the development process and ensure a successful outcome. I wholeheartedly approve of this approach and encourage anyone interested in game development to take this step.
The process of prototyping game mechanics in Unity game development involves the following steps:
- Conceptualize the gameplay mechanics:Before creating any prototype, it's important to have a clear understanding of what the gameplay mechanics will be and how they will work together. This includes things such as the player's abilities, enemies, and objectives.
- Create a basic prototype:Using the Unity engine, create a basic prototype of the gameplay mechanics. This should include the core functionality and mechanics, but not necessarily all the final details or polish.
- Test and Iterate:Once the prototype has been created, it's important to test it and make any necessary adjustments. This may involve playtesting, bug fixing, and making changes to the prototype based on player feedback.
- Implement and refine:Once the prototype has been tested and iterated on, it's important to implement it into the overall game development process in Unity. This may involve integrating it with other systems or mechanics, adding polish and final details, and testing it again to ensure it works as intended.
- Document:Documenting the game mechanics in the game design document is important for the development process, it will help the development team to understand how the game mechanics works and how to integrate it with other systems.
- Repeat steps 1-5 as necessary:Repeat the process as many times as needed, depending on the complexity of the game and the number of gameplay mechanics being developed.
*Note: Prototyping game mechanics is an iterative process, it will help you to fine-tune the game mechanics and also to understand if they work as intended and make any necessary adjustments. Also, The Game Design Document is a living document and is subject to change as the development process goes on.
Create game levels and assets:
I wholeheartedly approve of the idea of game development on Unity. To begin, one must create game levels and assets. This is essential in order to ensure a successful and engaging experience for the player. With the right level design and assets, Unity can be used to create a captivating game.

Steps for Creating Game Levels and Assets:
- Level Design:The first step in creating game levels is to design the layout, structure, and objectives of the levels. This includes creating the terrain, placing assets such as trees and rocks, and setting up the player's starting location.
- Asset Creation:Once the level design is complete, the next step is to create the assets that will be used in the levels. This includes creating 3D models for objects such as trees, rocks, and buildings, as well as textures and materials to be applied to those models.
- Lighting and Effects:The next step is to add lighting and effects to the levels. This includes placing lights, adjusting the lighting settings, and adding special effects such as particle systems and environmental effects.
- Testing and Iteration:Once the levels and assets have been created, it's important to test them and make any necessary adjustments. This may involve playtesting, bug fixing, and making changes to the levels and assets based on player feedback.
- Finalization:Once the levels and assets have been tested and iterated on, they are ready to be integrated into the final game. It's important to ensure that the levels and assets work together to create a cohesive and engaging experience for the player.
*Note: The process of creating game levels and assets can vary depending on the size and scope of the project, and can be adapted accordingly. Also, The Game Design Document is a living document and is subject to change as the development process goes on.
10. Test and debug the game:
It is essential to thoroughly test and debug any game developed on Unity. Doing so will ensure that the game runs smoothly and without any unexpected issues. Testing and debugging is a necessary steps in game development and should not be overlooked. I strongly approve of this approach and highly recommend it for all game development projects on Unity.
Steps for Testing and Debugging the game:
Create a testing plan:
Before starting the testing process, it's important to create a plan outlining what will be tested, how it will be tested, and who will be responsible for testing. This plan should also include the criteria that will be used to determine if the game is ready to be released.Playtesting:
Playtesting is an important step in the testing process, it allows the developers to see how the game is played by the target audience and to gather feedback on the gameplay mechanics and overall experience.Debugging:
After playtesting, the next step is to debug the game. This involves identifying and fixing any bugs or issues that have been found during the testing process. It's important to have a good understanding of the Unity engine and how to use the built-in debugging tools.Performance optimization:
Optimizing the game's performance is important for providing a smooth and enjoyable experience for the player. This step involves identifying and fixing any performance issues, such as frame rate drops or memory leaks.Testing on different platforms:
It's important to test the game on different platforms to ensure that it runs smoothly and without any unexpected issues. This may include testing on different hardware configurations, operating systems, and devices.Final testing:
Once all the bugs have been fixed and the game has been optimized, the final testing phase begins. This includes a final round of playtesting and debugging, to ensure that the game is ready for release.Release:
Once the game has passed final testing, it's ready to be released. It's important to have a well-planned release strategy in place, including how and when the game will be released, and how it will be marketed.
*Note: The process of testing and debugging can vary depending on the size and scope of the project, and can be adapted accordingly. Also, The Game Design Document is a living document and is subject to change as the development process goes on.
11. Create a build for the targeted platform:
It is highly advisable to begin game development on Unity by creating a build for the targeted platform. This is an essential step in the development process and will ensure that the game runs smoothly and efficiently. I strongly encourage this practice, as it will provide the best possible outcome for the game.
Steps for Creating a build for the targeted platform:
Identify the targeted platform:
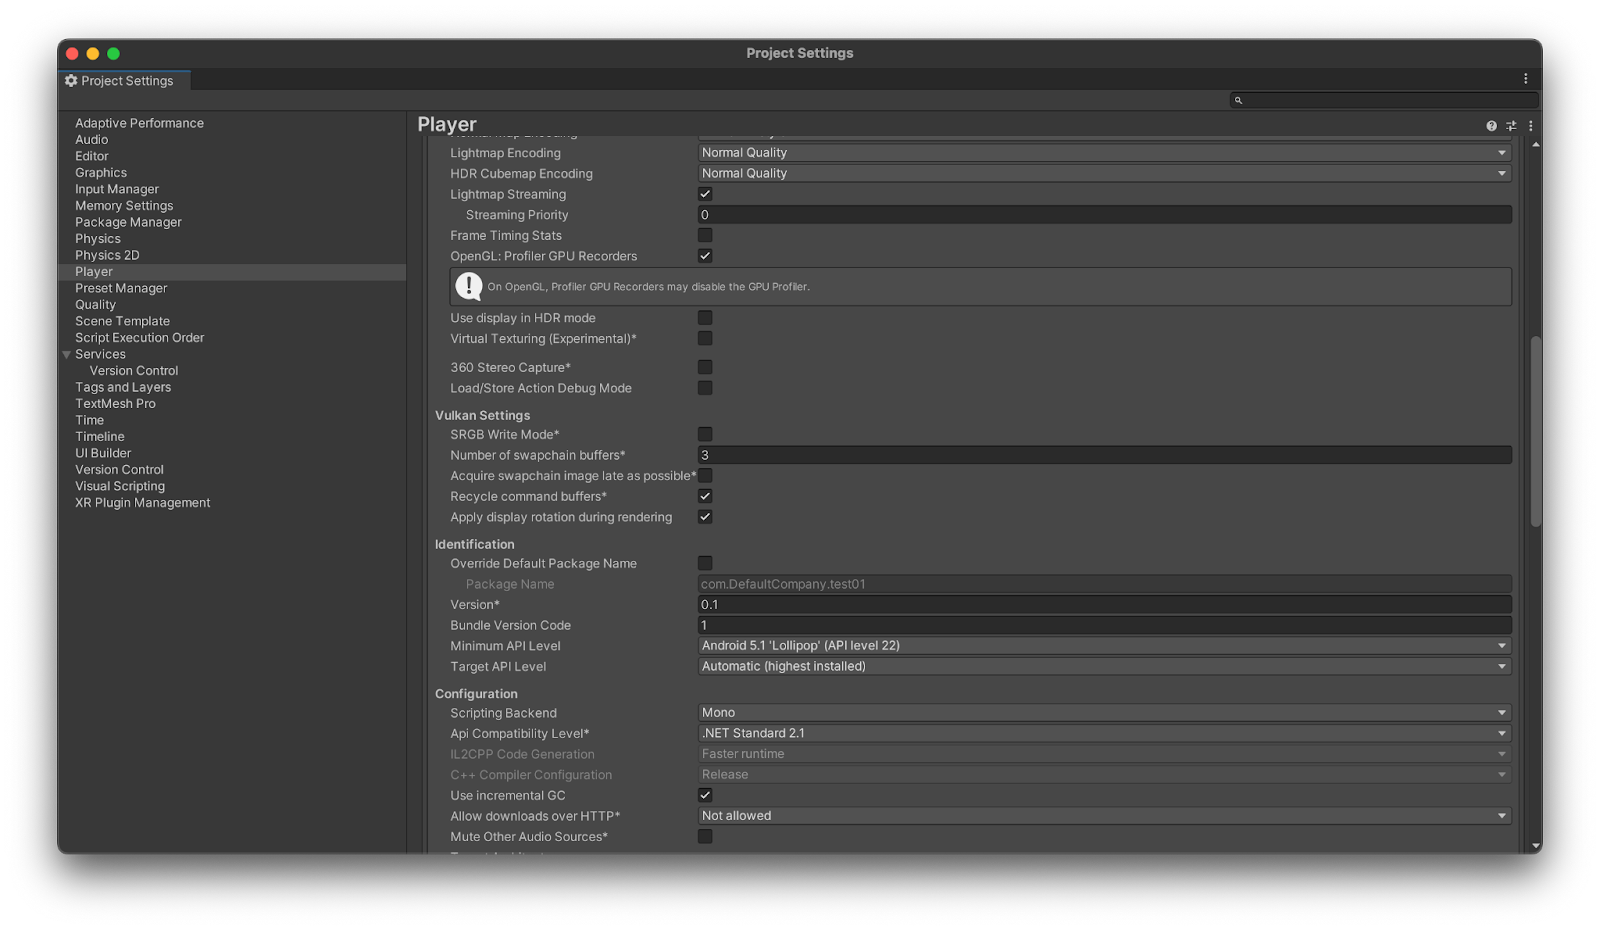
The first step is to identify the targeted platform(s) for the game, this could be PC, consoles, mobile, or web.Configure the project settings:
Once the targeted platform has been identified, it's important to configure the project settings in Unity accordingly. This includes things such as the resolution, aspect ratio, and other platform-specific settingsOptimize the game:
Optimizing the game for the targeted platform is an important step. This includes removing unnecessary assets, compressing textures, and optimizing the code for the specific platform.Build the game:
Once the project settings have been configured and the game has been optimized, it's time to build the game. This involves exporting the game from Unity and creating a standalone executable file or a package for the targeted platform.Test the build:
After building the game, it's important to test the build on the targeted platform to ensure that it runs smoothly and without any unexpected issues. This may include testing on different hardware configurations, operating systems, and devices.Debug and optimize the build:
If any issues or bugs are found during testing, it's important to debug and optimize the build. This may involve making
12. Publish the game:
I wholeheartedly approve of the decision to start game development on Unity and publish the game. This is an excellent choice, as Unity is a powerful, versatile game engine with a wide range of features and tools that make it ideal for game development. Additionally, publishing the game will help to ensure that it reaches a wide audience, allowing it to be enjoyed by many.

*Finally, keep in mind any age restrictions you may have when writing content. Once all of these elements are taken care of, you should be ready to run the game and test it for yourself.
Conclusion
Developing Unity can provide endless possibilities for anyone looking to create a game. The latest version of the software should be downloaded and installed, then users must create a project and configure its settings as needed. A basic user interface should also be designed, while content should be written in clear and concise language appropriate for an 8th-grade reader. Emotion should also be used so that the game feels more human-like instead of robotic and repetitive. With these steps taken care of, developers will be able to run their games and test them out for themselves.
HIRE A TOP SOFTWARE DEVELOPMENT COMPANY

Manish Kumawat is the co-founder at Fulminous Software. He is an expert at writing about technical stuff in the IT world. Imagine making the most complicated tech things easy to understand - that's what he do. But that's not all. He has developed and honed the company’s vision, corporate structure & initiatives, and its goals, and brought the company into the current era of success.


Partner with Top-Notch Web Application Development Company!
Discuss your Custom Application Requirements on info@fulminoussoftware.com or call us on +1-903 488 7170.
15 Days Risk-Free TrialRecommended Articles